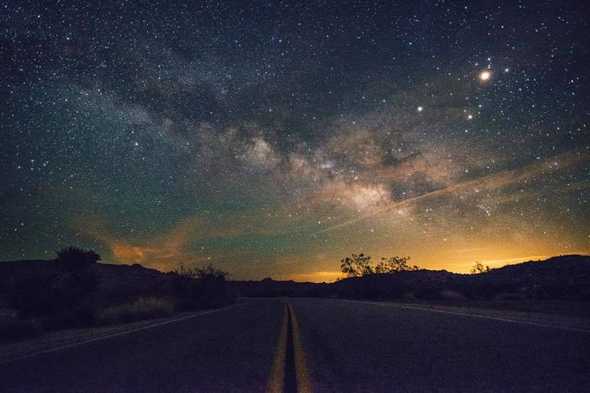
How to shoot the milky way
December 21, 2018
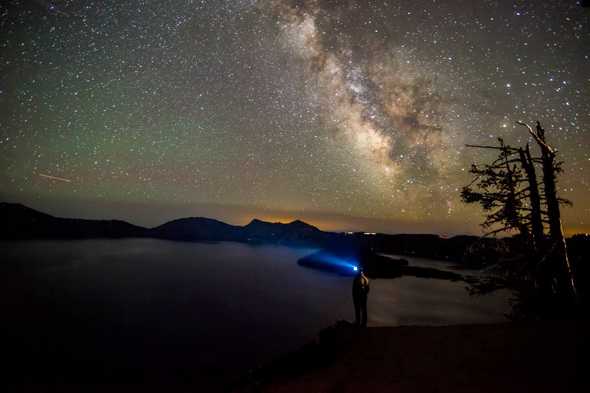
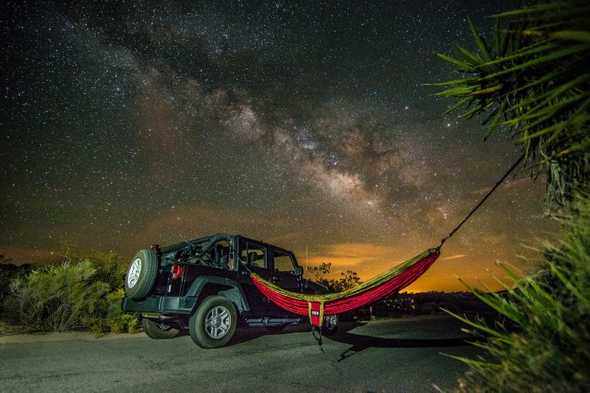
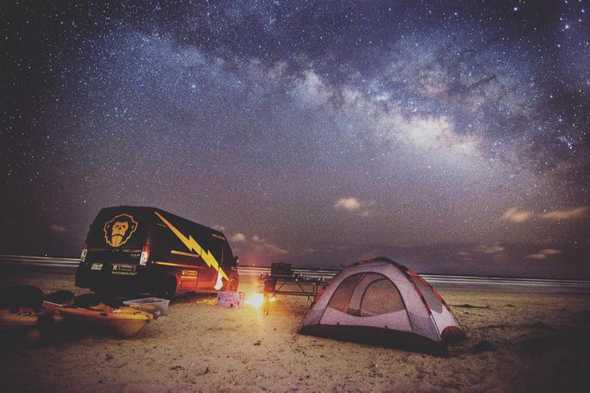
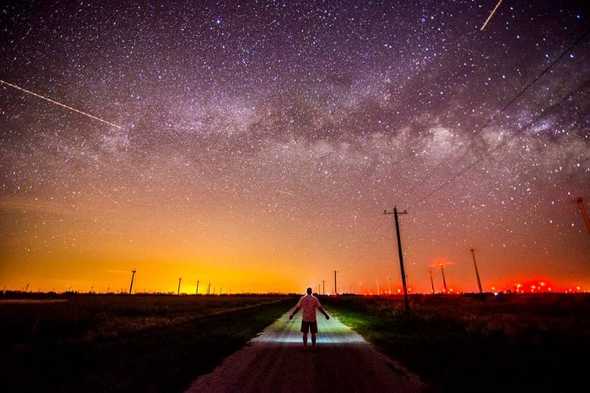
There is no better feeling in photography than getting the perfect shot. When it comes to Mother Nature things like that aren’t exactly easy to control. My goal is to explain everything from planning to technical execution in an effort to give you every advantage when going for that perfect shot.
Planning
First off let’s talk about how to plan for your perfect Milky Way shot. There are a few quintessential pieces to getting the shot. Be sure to check off these 3 crucial items before heading out.
- The Moon should be somewhere around the New Moon Phase. The less moon in the night sky, the less night pollution you’ll get into your photos. I track the phases of the moon with an app called PhotoPills. Another really cool feature is augmented reality to track the Milky Way’s current position. Our camera’s can pick up significantly more light than our eyes and sometimes you won’t actually see the Milky Way you’re shooting.
- Check the weather. You need a clear sky, no clouds, no rain and preferably no wind. There are hundreds of weather apps — I personally use Weatherbug.
- You’re going to need to find a dark sky. Luckily there’s a website called Dark Site Finder where you can see where the light pollution is the worst. I’ve used this and it’s always been my “North Star”. This is my favorite part — most of these places are well off the beaten path with no service and it makes for quite the adventure.
Equipment
Below are the bare minimums for a successful night shooting the Milky Way along with some of my recommendations
- DSLR that you can manually control (i.e. Sony A7Rii or Nikon D850)
- Lens that is at least 2.8 (and most times a wide angle). For Nikon I loved the Tokina 11–16 2.8.
- Sturdy Tripod (Manfrotto/Benro is usually a safe bet)
- A pack a handwarmers (use these to wrap around the lens to prevent moisture)
- Headlamp and jacket
Technical
Before we dive into the pit of gear envy I wanted to talk about how we accomplish these shots. I should preface these as suggestions, with camera settings no scenario is going to be exactly the same as the next.
ISO
With ISO I try to stay in the range of 1600–6400. This is all dependent on your Aperture, Shutter Speed and factors such as the moon phase, light pollution etc.
Aperture
For this you want the fastest (and usually widest) lens you can find. Popular ones are the Tokina 11–16 2.8 (for DX DSLRs), Tokina 16–28 2.8, Nikon 14–24 and a handful of Rokinon lenses. The goal is to hang at 2.8 or lower.
Shutter Speed
Most of the time you want to follow the rule of 600, this states that you take the number 600 and divide it by your lens [focal length] to get the maximum number of seconds before you start seeing trailing stars (aka blur from the movement of Earth). For example if you are using a 14mm lens (on FX) you could push the shutter speed to ~40s before seeing star trails. That should really be your ceiling in terms of Shutter Speed, you can work your way backwards from there if needed and find a good spot.
Miscellaneous Tips and Tricks
You’ll want to set your camera lens to infinity and lock it there. Additionally it’s useful to use your headlamp to help get a good focus on infinity. If you’re shooting timelapses, get a tripod with a hook at the bottom and hang your backpack from there. It ensure you have a sturdy base. Lastly if you aren’t using an intervalometer or trigger like a Syrp then use the self timer to ensure you have no camera shake.
I hope this is a useful guide — I’ll be writing more in depth (for each section) and much more in the coming month. Comment below if you have any questions!
